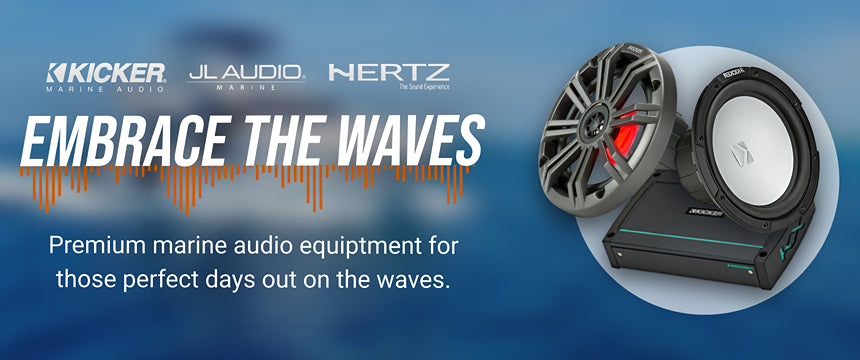
image of a set of marine speakers on a white background

Marine Audio

If you’re upgrading boat sound, it helps to start with a plan: what you’re replacing, what you’re adding, and where the gear needs to fit. This marine audio collection brings together the key product types so you can build a setup that suits your boat layout, then confirm the details before you order.


⛓ Live stock levels | 📲 expert help | 📚 Large catalogue

What’s the best order to build a marine audio system?

Start with the layout and zones, then choose the source unit, then speakers, then amplification and subwoofer if needed. Measure speaker cut-outs and mounting depth first, and check helm cut-out size for the source unit. Once fit is confirmed, use impedance and RMS power handling spec types to match speakers and subs to your amplifier plan. Finish by planning wiring routes, cable lengths and fusing.

What measurements should I take before ordering marine audio parts?

Measure speaker cut-out diameter and mounting depth at every location, plus helm cut-out size and depth if you’re fitting a source unit. If you’re mounting tower speakers, confirm tower clearance, mounting position and cable routing. Measure cable runs along the actual route, not straight lines, and leave slack for servicing. These checks prevent buying parts that cannot be mounted cleanly.

How do I avoid buying marine audio components that won’t work together?

Plan the system on paper first. Decide zones, how many speakers you’re running, whether you’re adding a subwoofer, and how many amplifier channels you need. Then match impedance and RMS power handling spec types across components and confirm connector types and wiring layout. If a product page doesn’t clearly state a detail you need, treat it as a reason to check before ordering, not something to assume.

258 productos

Marine audio for boats, planned the right way


Build around the boat layout and listening zones

Start by listing the areas you want sound: cockpit, cabin, and tower if applicable. Decide whether you want separate volume control per area, then map the system to suit. Planning zones first helps you choose the right mix of speakers and amplification, and avoids ending up with a setup that’s hard to balance or control.


Fit checks first, features second

Most wrong orders happen because measurements were skipped. Measure speaker cut-outs, check mounting depth, confirm helm cut-out size for source units, and plan where amps and wiring will run. If you’re replacing older gear, check whether the new mounting pattern and grille will cover the existing footprint. These checks reduce install delays and returns.


Match impedance, channels, and wiring before checkout

Treat matching as a checklist. Use impedance and RMS power handling spec types to match speakers and subwoofers to your amplifier plan, then map channels and wiring routes. Confirm connector types, cable lengths, power distribution and fusing for a 12V setup. A clean plan makes installation simpler and avoids rework.